

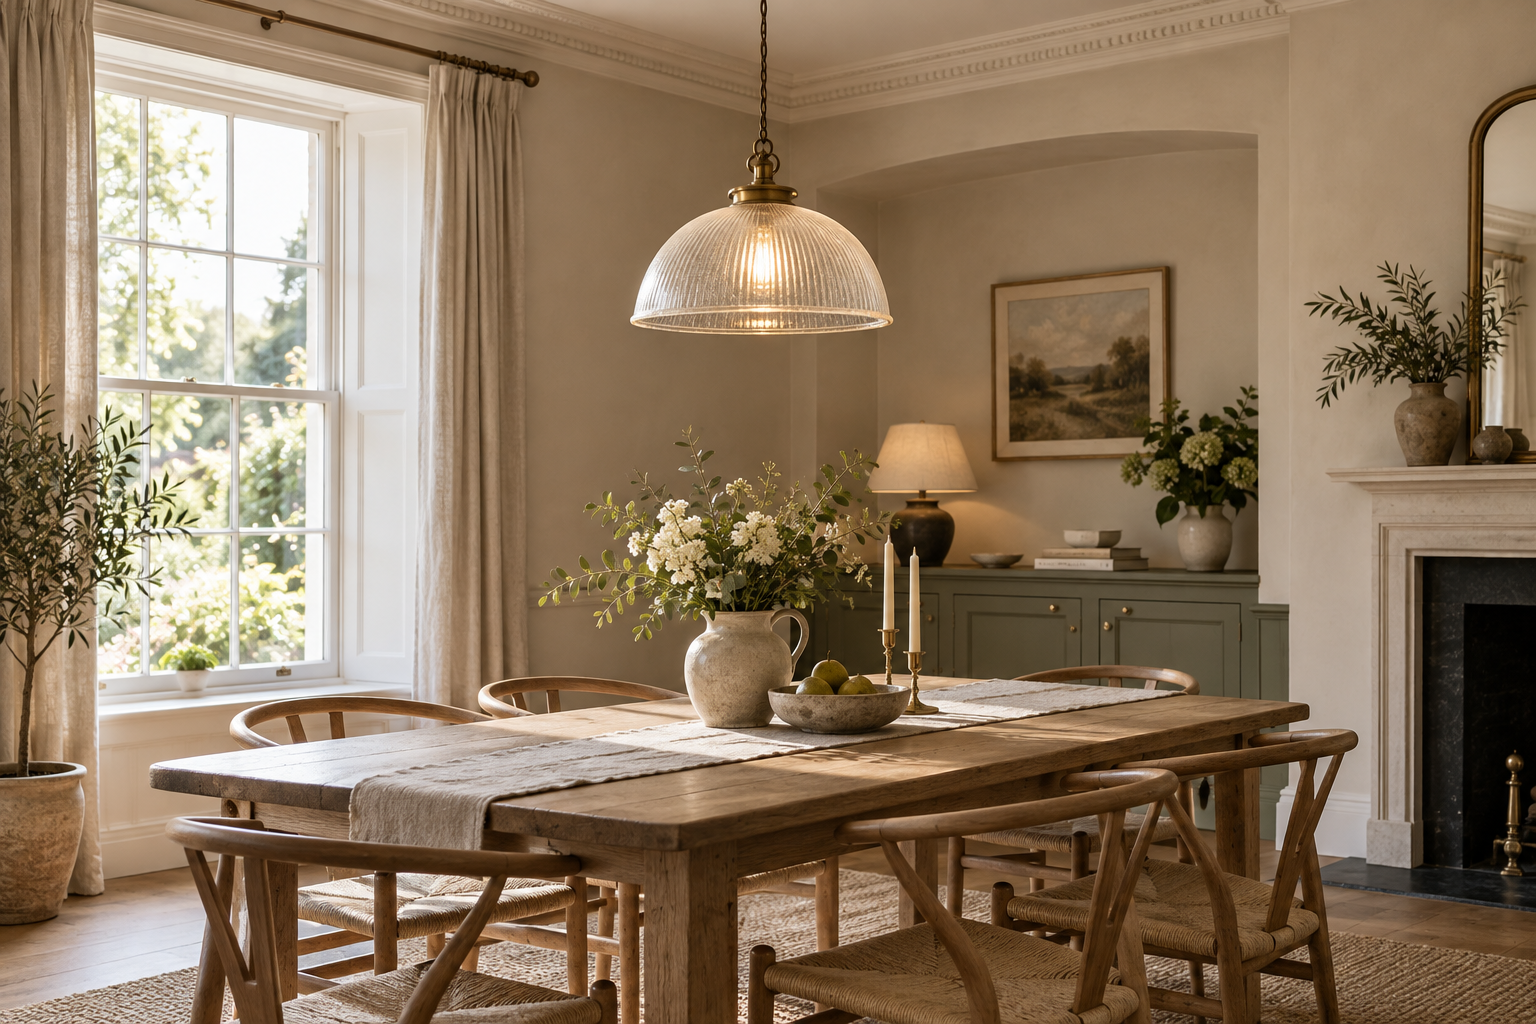
Before You Buy
Before you buy
Find the right light for your room.
A practical guide to the details that make a room feel considered: the type of light, the right scale, and what to check before you order.
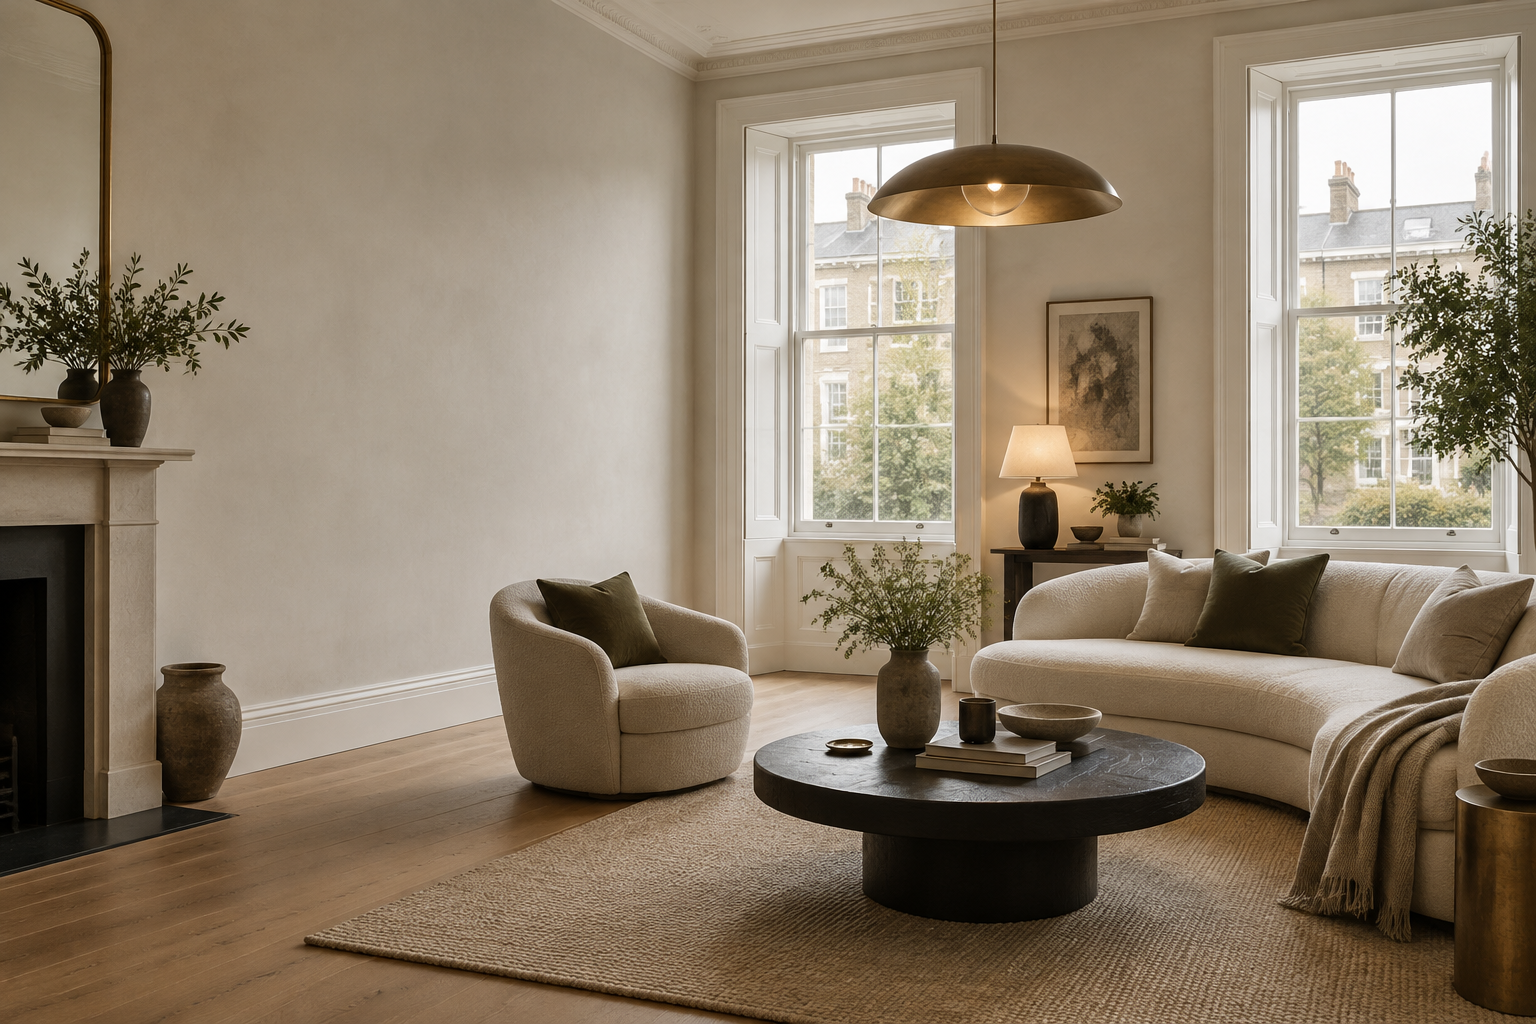
Light, considered
01 / Find your starting point
Start with the room, not the product.
Choose the situation that sounds most like yours. We will point you toward the lighting type that usually works best, then you can browse at your own pace.
There is no single “correct” answer. These are useful starting points, not rules.
Where are you lighting?1 / 3
What should the light do?2 / 3
What can you install?3 / 3
Your starting pointPendant lighting
Explore pendant lights →
With a ceiling point, a pendant can give the main area a clear focal point. Check its drop and spread for your room.
Your starting pointCeiling lighting
Explore ceiling lights →
For a softer base layer or a room with limited drop, a ceiling fitting keeps light even without hanging low.
Your starting pointWall lighting
Explore wall lights →
Your wall point can add useful light close to where you need it while keeping the floor and surfaces clear.
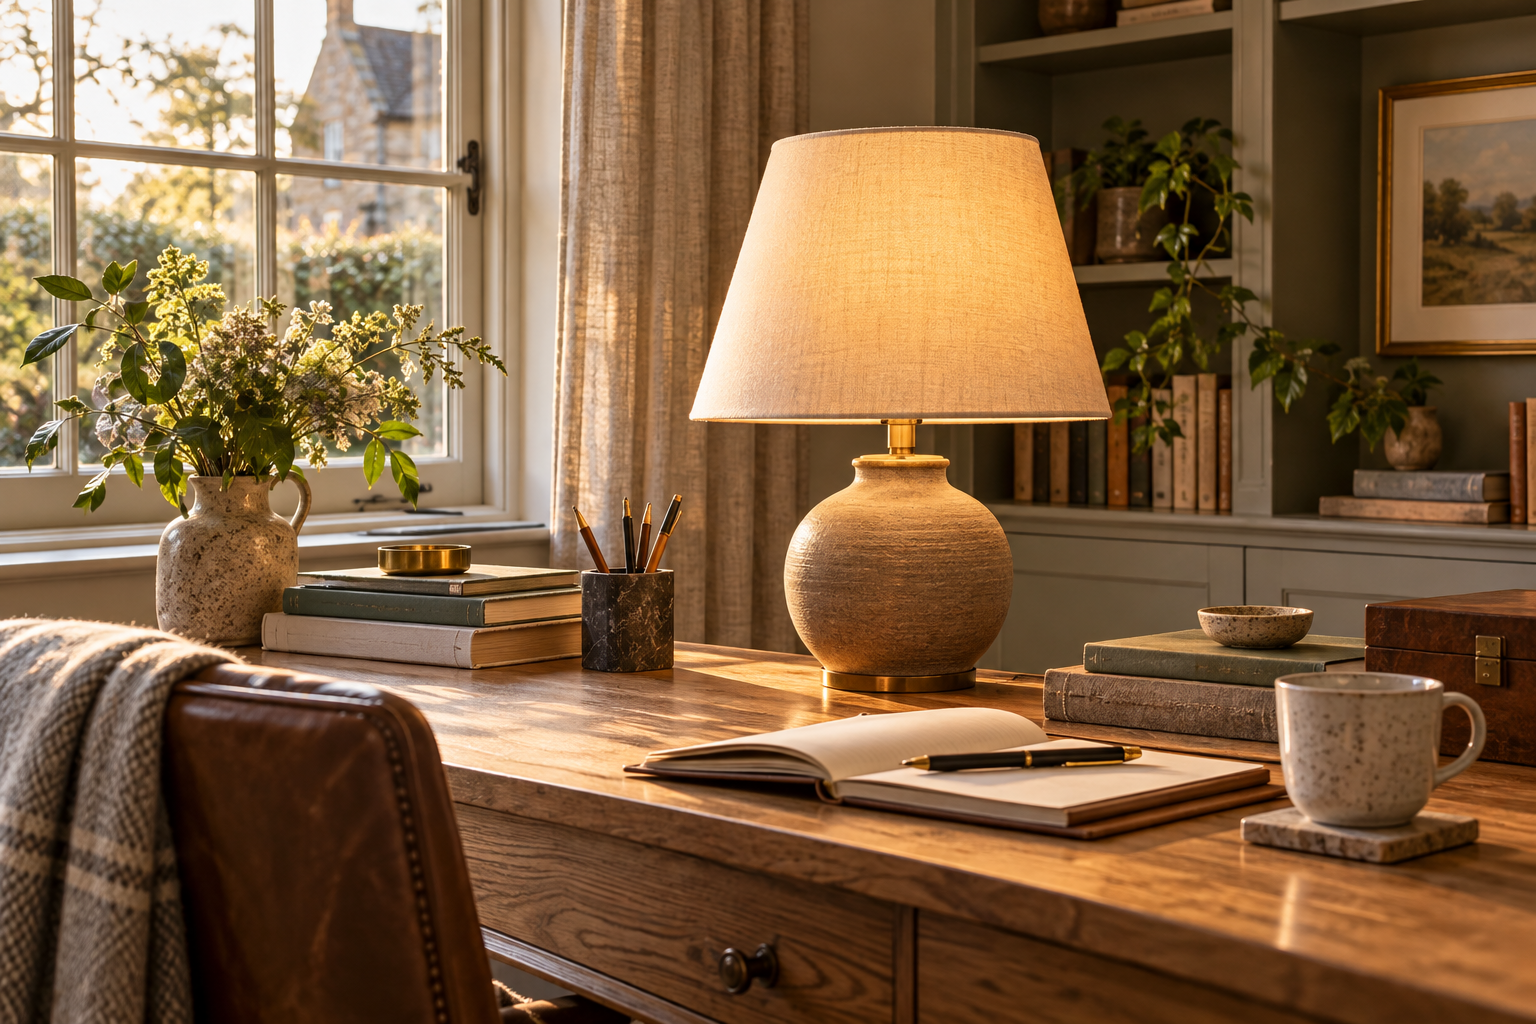
Your starting pointTable & desk lighting
Explore table lamps →
With a socket only, a table or desk lamp adds a practical pool of light without rewiring.
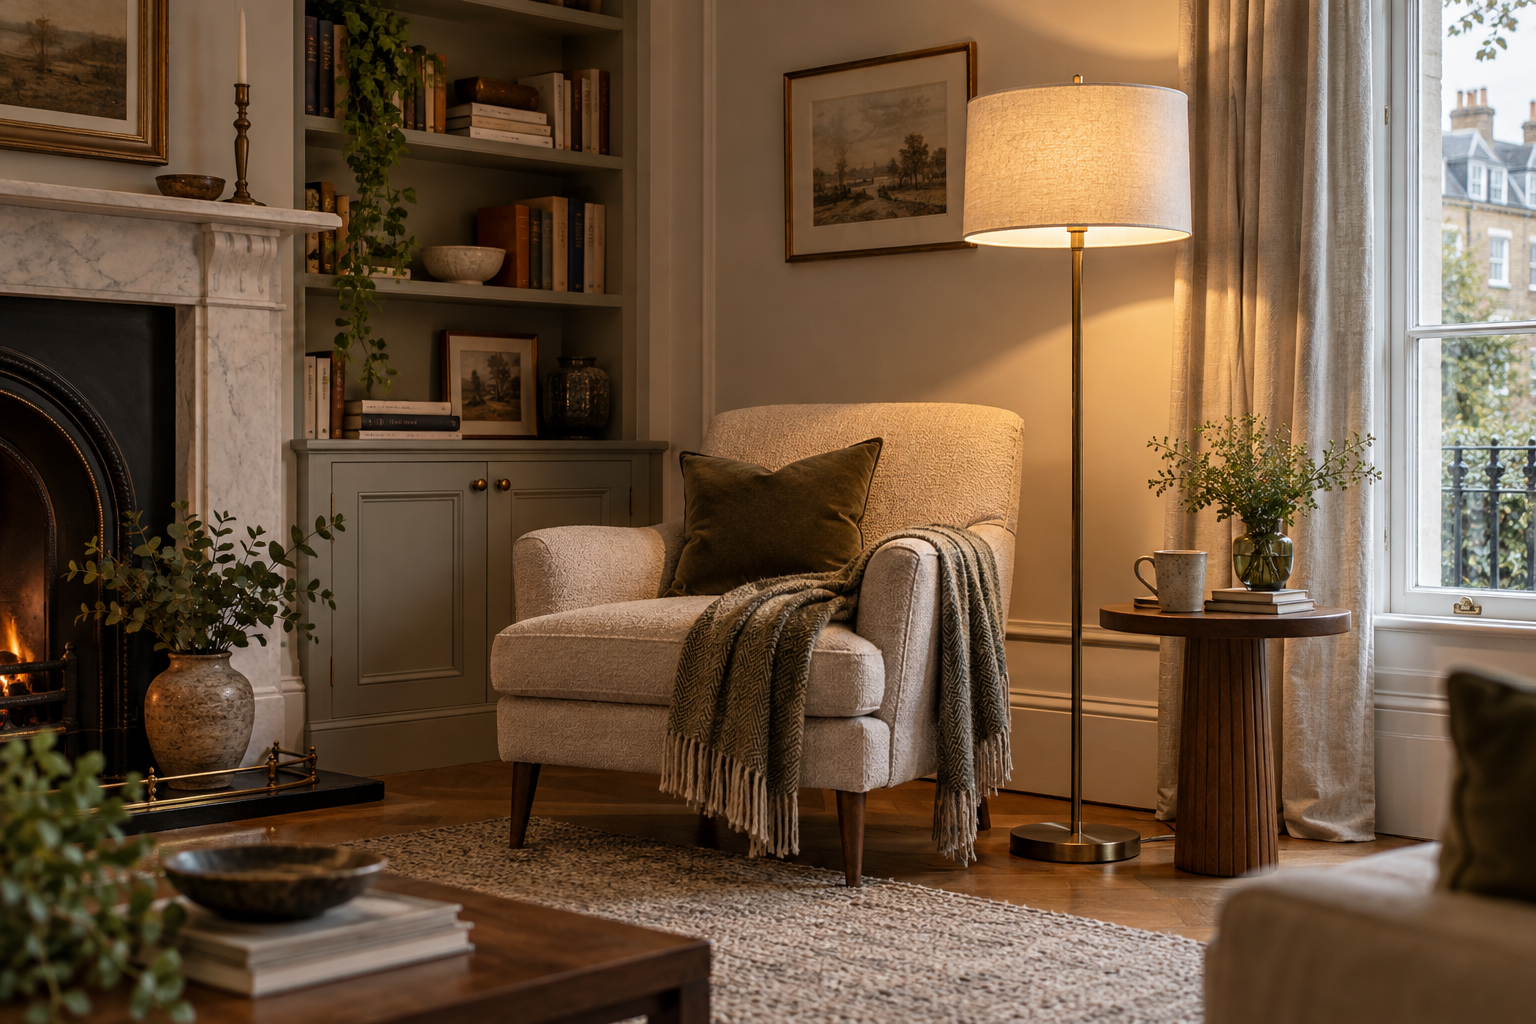
Your starting pointFloor lighting
Explore floor lamps →
A floor lamp uses a socket to add height and a softer layer beside a sofa or reading chair.
02 / Lighting types
Know what each light is for.
The easiest way to narrow a collection is to begin with the job you need the light to do.
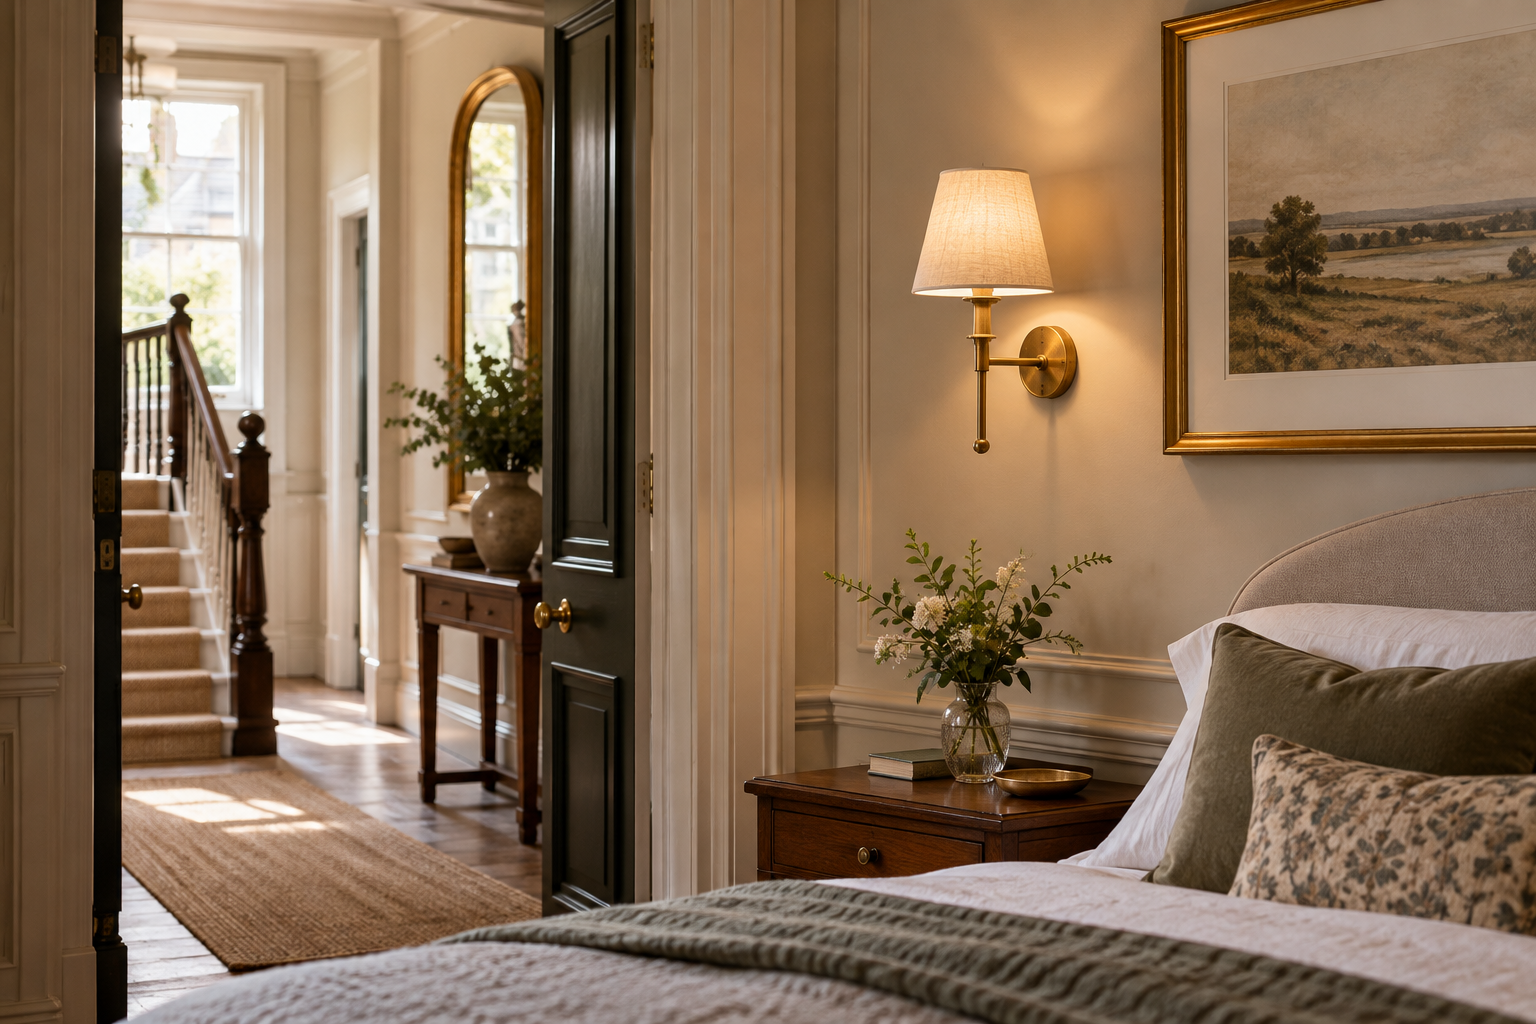
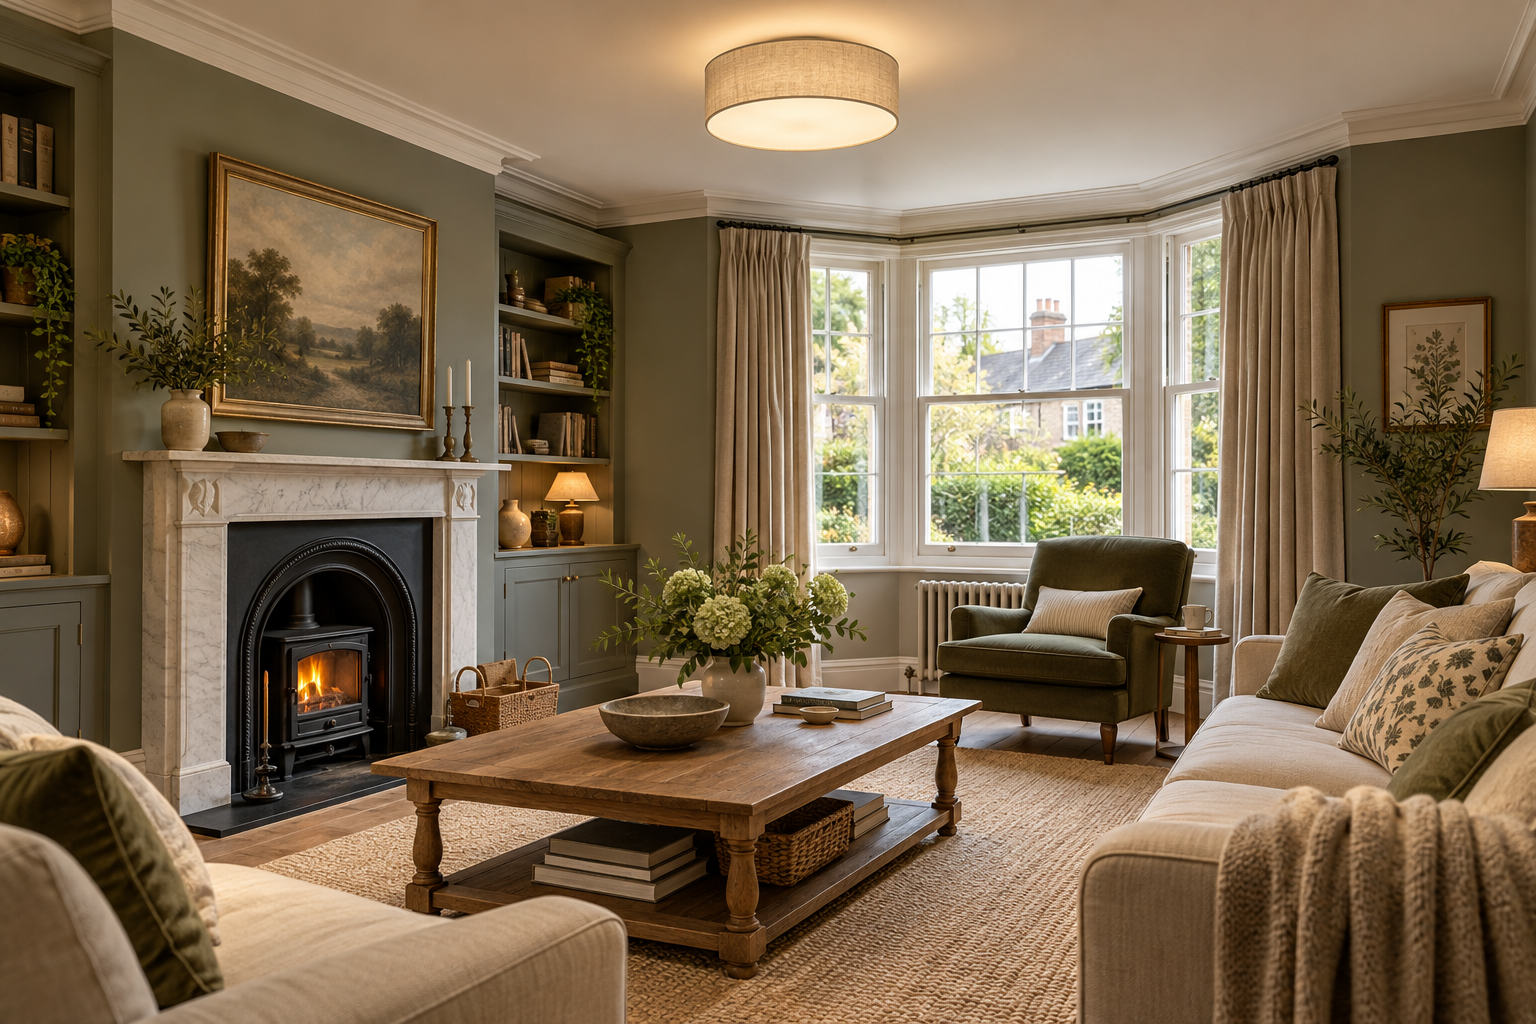
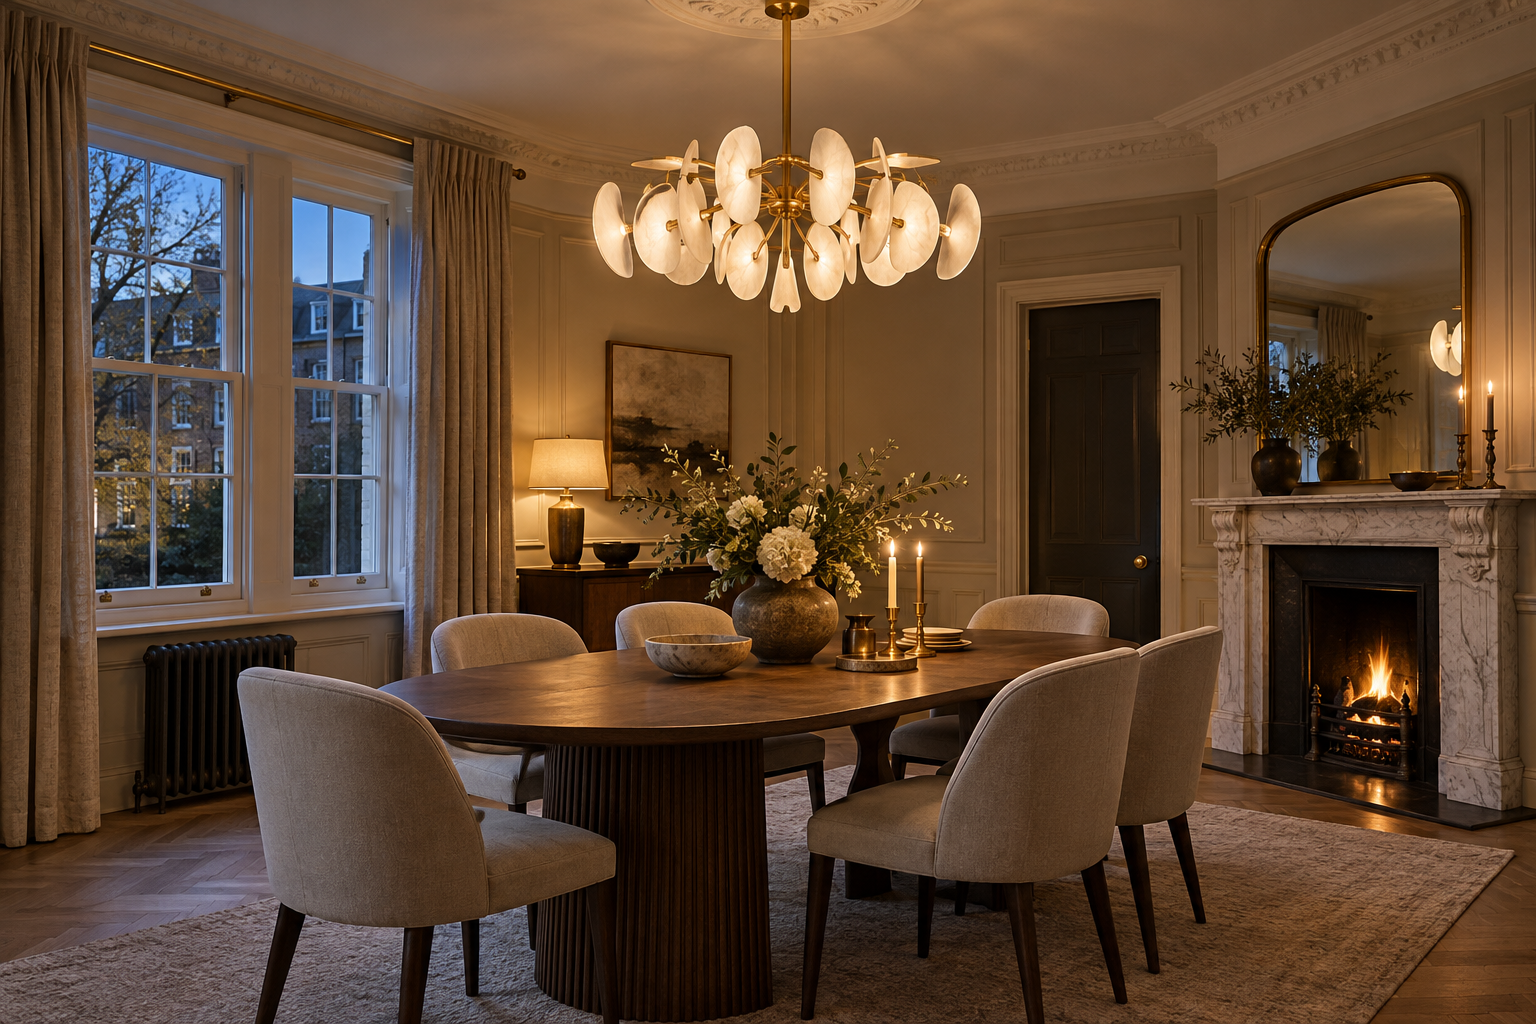
Chandelier
A larger statement fitting that brings several light sources together.
Shop chandeliers →03 / What to measure
Good proportions start with three numbers.
Before you fall for a finish, note the width of the surface, the height of the room and how much space people need to move comfortably.
01
Width
Measure the surface or area the light will sit over.
02
Drop
Check the fitting will not interrupt sightlines or door swings.
03
Clearance
Leave enough room for people to walk, sit and reach safely.
Keep sightlines openMeasure the tableLeave seated clearance
Dining tableA pendant can sit lower here because people are seated.
Leave working clearanceMeasure the islandKeep the walkway clear
Kitchen islandAim for an even pool of light across the full island.
Keep the reach comfortableMeasure the bedside surfaceClear the headboard
BedsideA wall light should sit close enough to switch on from bed.
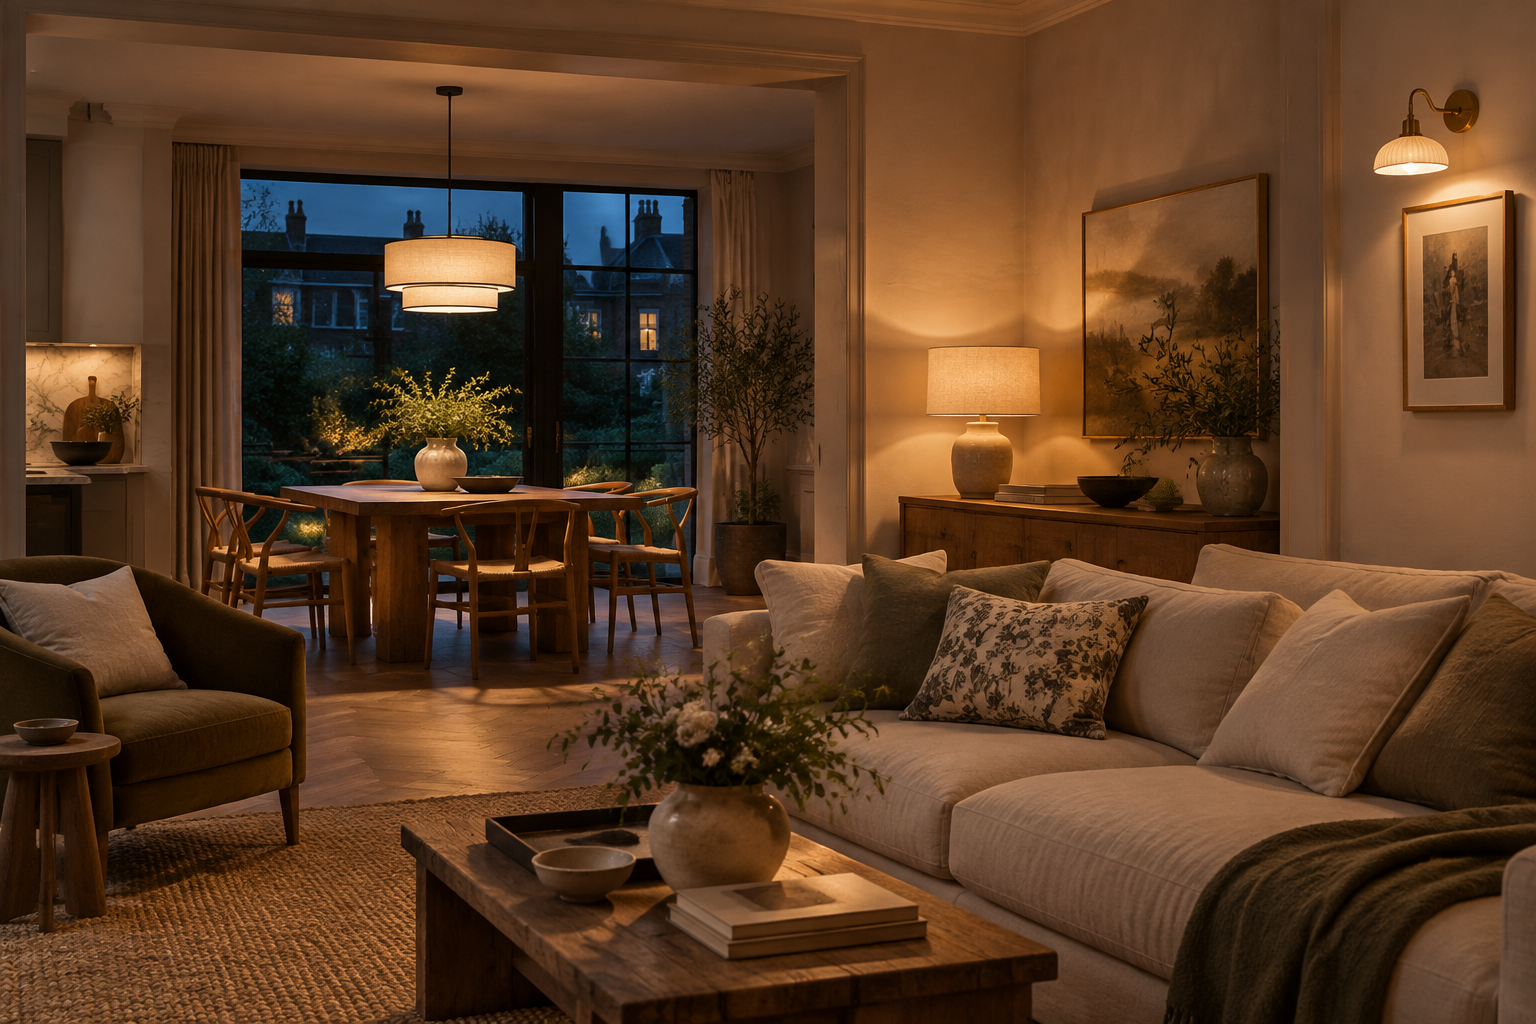
Ambient light sets the baseA pendant over the dining table spreads a comfortable general glow through the room.
Task light helps you workA table lamp puts focused light where you read, write or prepare.
Accent light adds depthA wall light draws attention to artwork and architectural detail.
04 / Build the layers
Three layers of light.
A room feels more natural when each light has a clear job. Select a marker to see how a pendant, table lamp and wall light work together.
AmbientThe comfortable base layer from the pendant over the dining table.
TaskFocused light from the table lamp for reading or preparing.
AccentA wall light that adds depth around artwork and architectural details.
05 / Plan by room
Useful guidance, room by room.
Select a room for a short, practical checklist and a direct path into the collection.
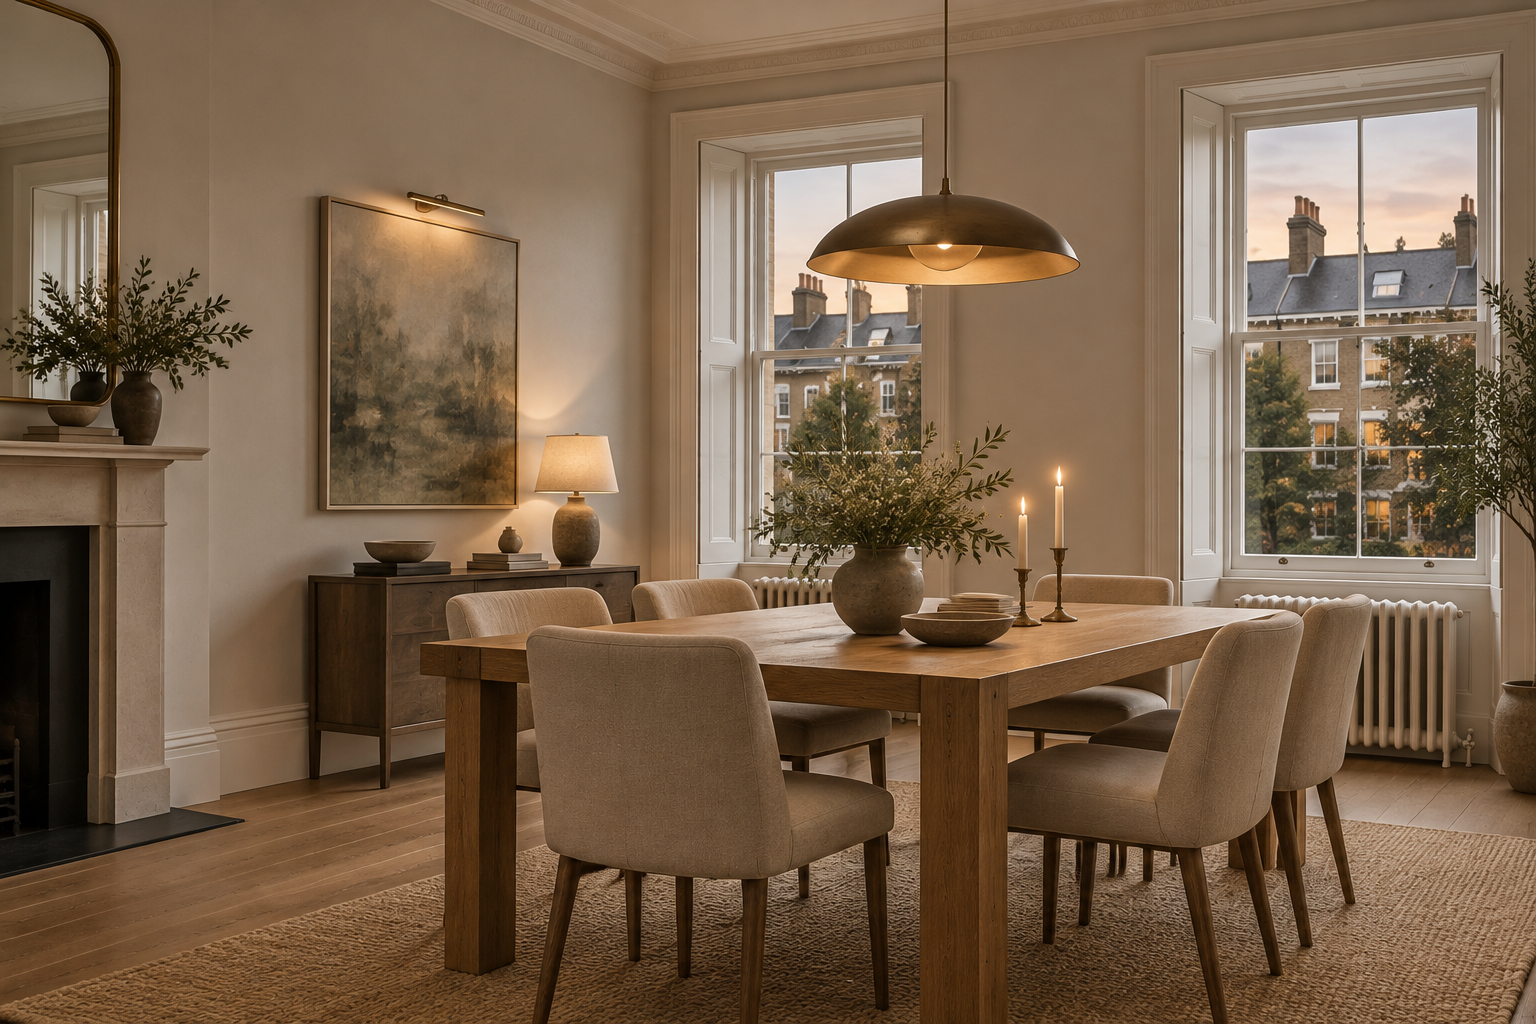
Dining room
A light that brings people together.
Start with the table size and the height of the ceiling. A pendant or a small cluster usually gives the most useful focus.
- Centre the fitting on the table, not the room.
- Keep the lowest point comfortably above eye level.
- Choose a dimmable bulb if you want one fitting to work for dinner and everyday use.
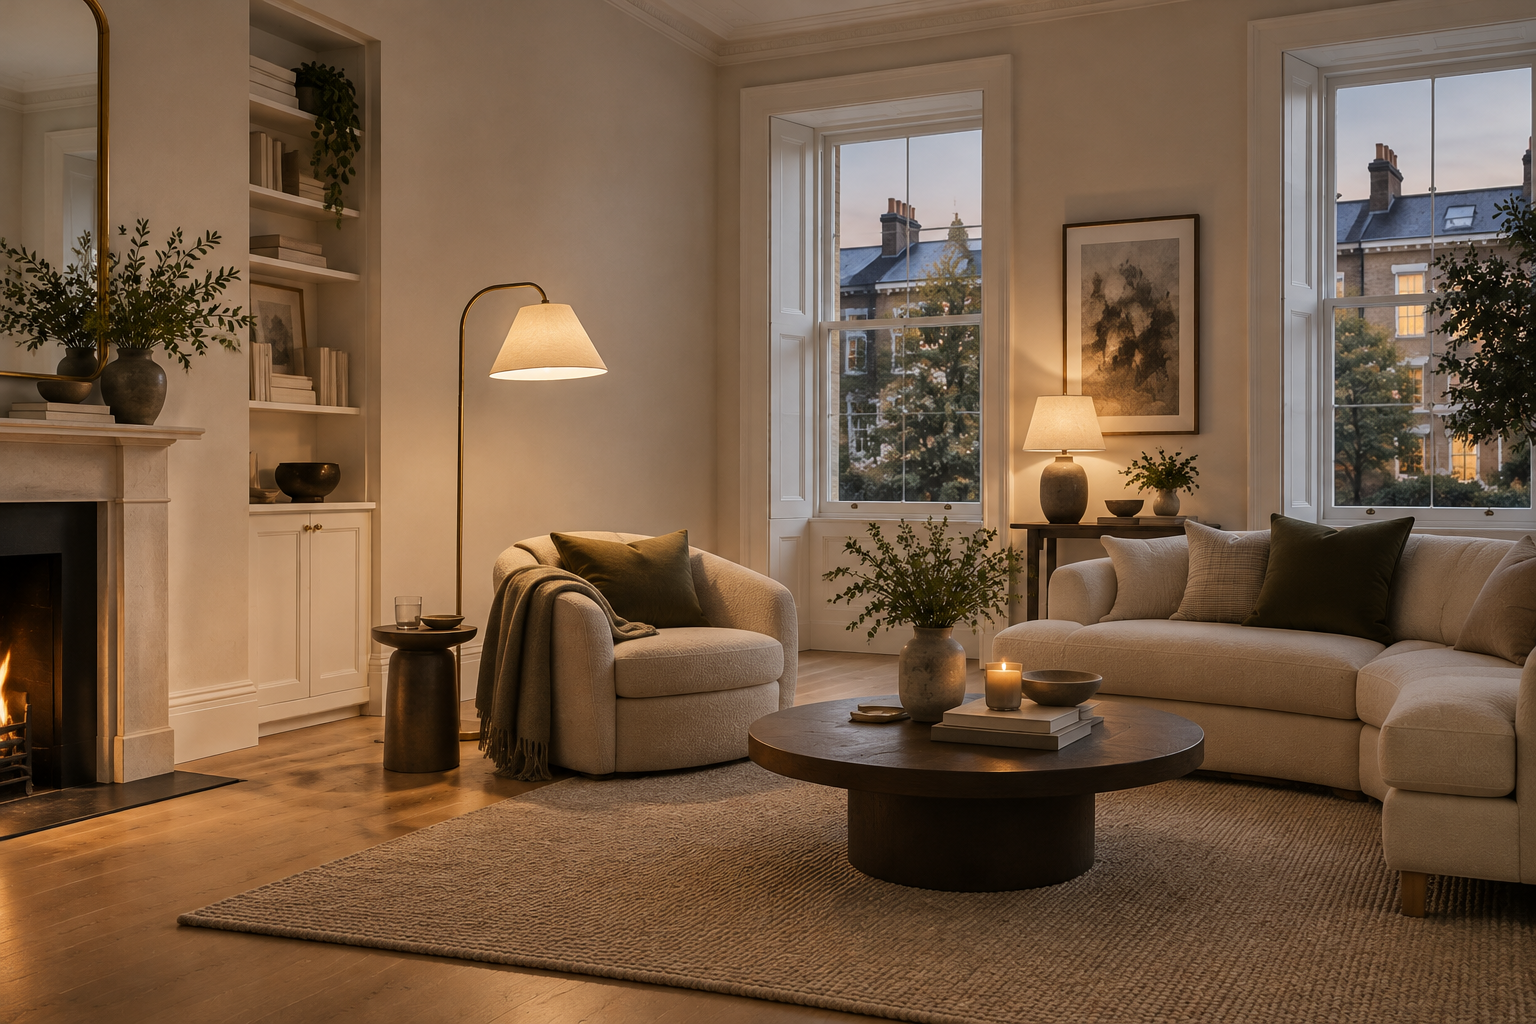
Living room
Build a softer, lower layer.
Combine one practical source with table or floor lamps so the room can change with the time of day.
- Use floor lamps to give empty corners a reason to exist.
- Keep reading lights close to the chair or sofa arm.
- Warm bulbs make evening light feel more relaxed.
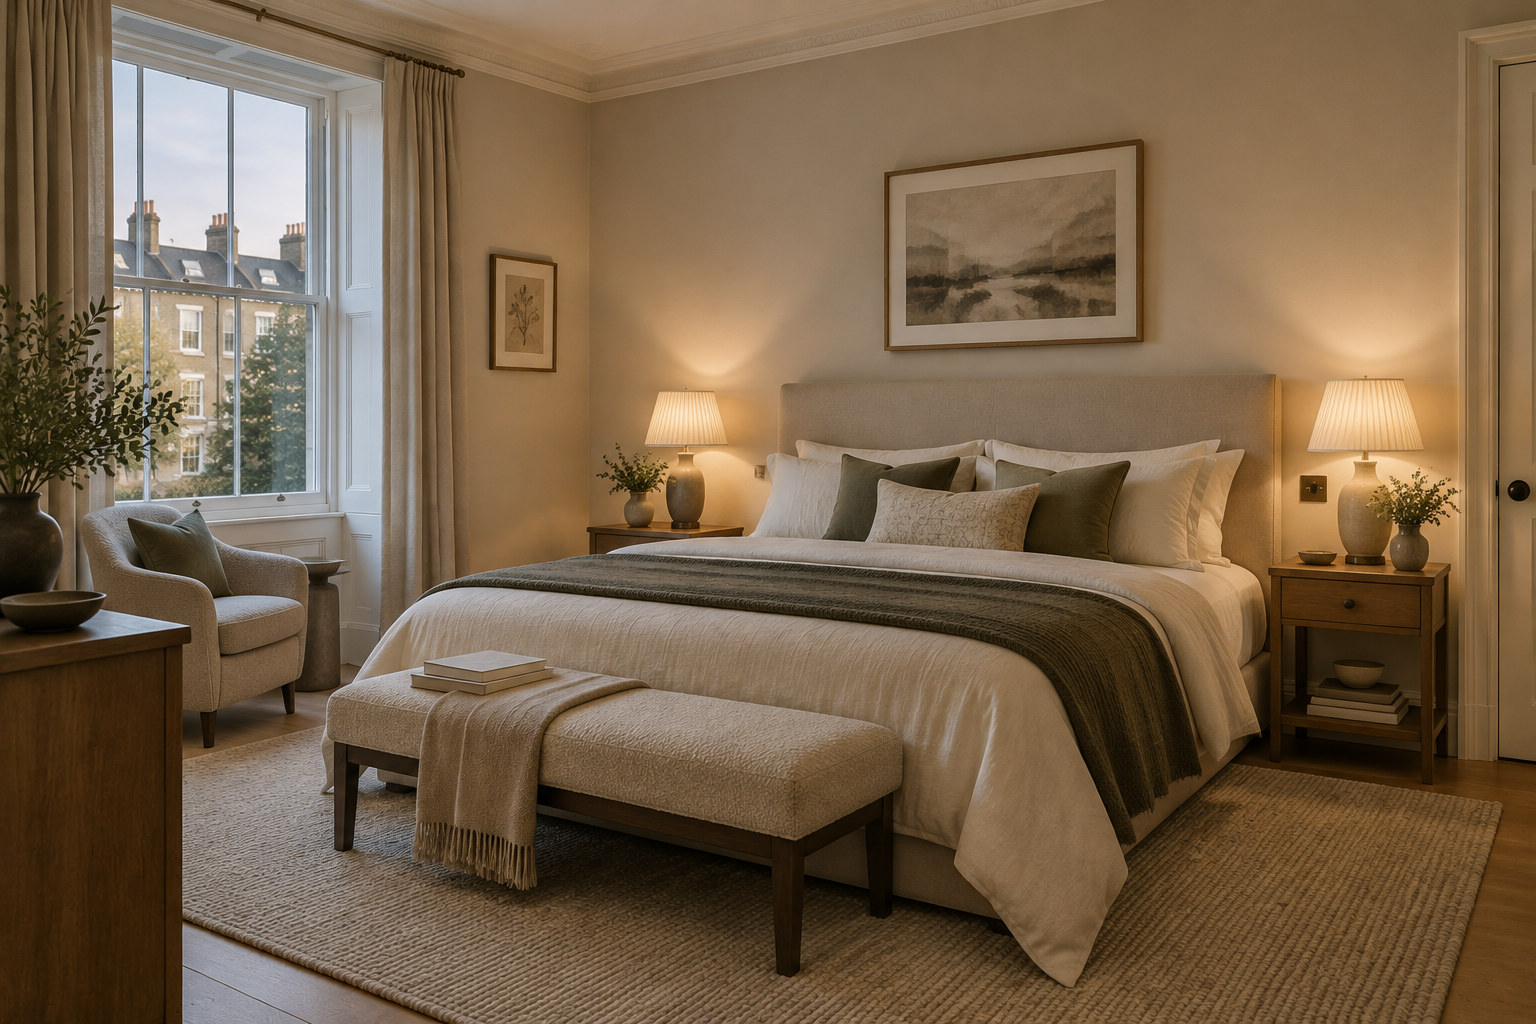
Bedroom
Keep the light close and calm.
Wall lights and bedside lamps work well when you want a clear surface and a softer glow.
- Check the switch is reachable from the bed.
- Use a shielded shade for a gentler evening light.
- Allow enough clearance for doors, artwork and curtains.
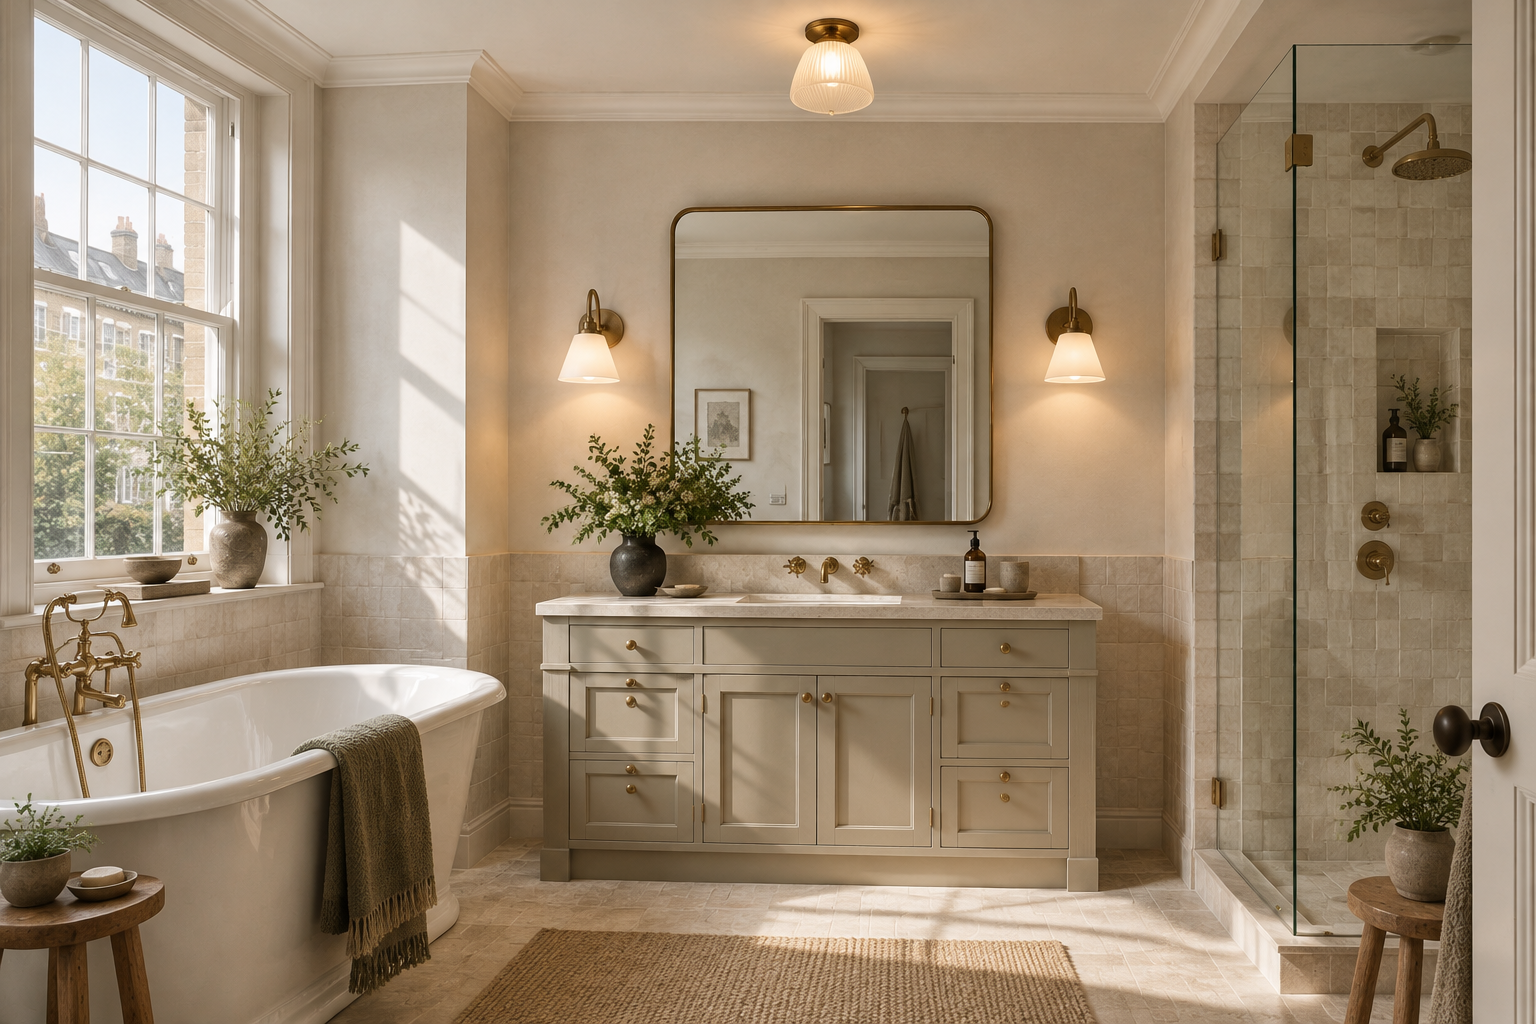
Bathroom
Check the rating before the finish.
Choose a fitting that is suitable for its position in the room, then decide how you want the light to fall on the mirror.
- Confirm the product IP rating suits the installation zone.
- A pair of wall lights can reduce shadows at the mirror.
- Use a qualified electrician for bathroom installations.
06 / Before ordering
A final, useful check.
These are the details that are easy to miss when you are focused on the way a light looks.
Bulb type and wattage
Check the product page for the compatible bulb base, maximum wattage and whether the bulb is included.
Dimmability
If you want to dim the fitting, make sure the bulb, dimmer and wiring are compatible with one another.
Voltage and power source
Confirm the fitting is suitable for your market and whether it is hardwired, plug-in or requires a ceiling point.
Dimensions and access
Compare the full dimensions with your room, including the canopy, arm movement and the route into the room.
IP rating and installation
Bathroom and outdoor positions need the right IP rating. Use a qualified electrician for fixed wiring.
One calm next step
Choose the room. We will help with the rest.
Browse by room, compare the practical details, and take your time finding a light that feels right at home.